Easy Apple Pie Pops – Fun Handheld Mini Pies on a Stick for Fall Gatherings


Who says pie has to be served on a plate? These apple pie pops are a delightful twist on the classic dessert, baked into cute, handheld treats you can enjoy on the go. With just a few simple ingredients, you’ll have a batch of golden, flaky, apple-filled goodness, on a stick!
They’re adorable, super easy to make with store-bought pie crust, and the perfect little treat for fall parties, holidays, or even an afternoon snack with the kids. Because honestly… who can resist pie on a stick?

If you’re anything like me, you know there’s something comforting about a warm slice of apple pie. But sometimes, you just want that cozy flavor in a fun, no-fuss kind of way. And that’s where this apple pie pops recipe comes in.
How to Make Apple Pie Pops
Here are the ingredients you need to make these apple apple pie pops, plus step by step instructions for how to make them.
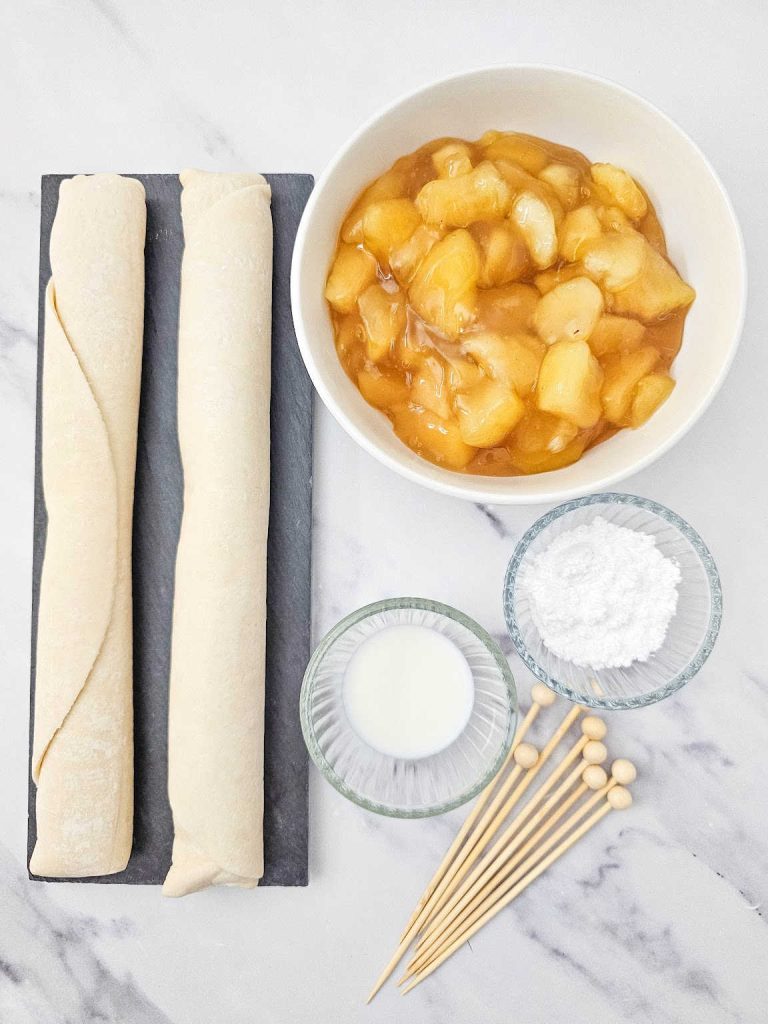
Ingredients
- 15 oz box of 2 pre-made pie crusts (refrigerator section)
- 1 cup apple pie filling, cut into small chunks
- 3 tbsp powdered sugar
- 1 tsp milk
Step by Step Instructions
1. Preheat your oven to 375°F and line a large baking sheet (or two smaller ones) with parchment paper for easy cleanup.
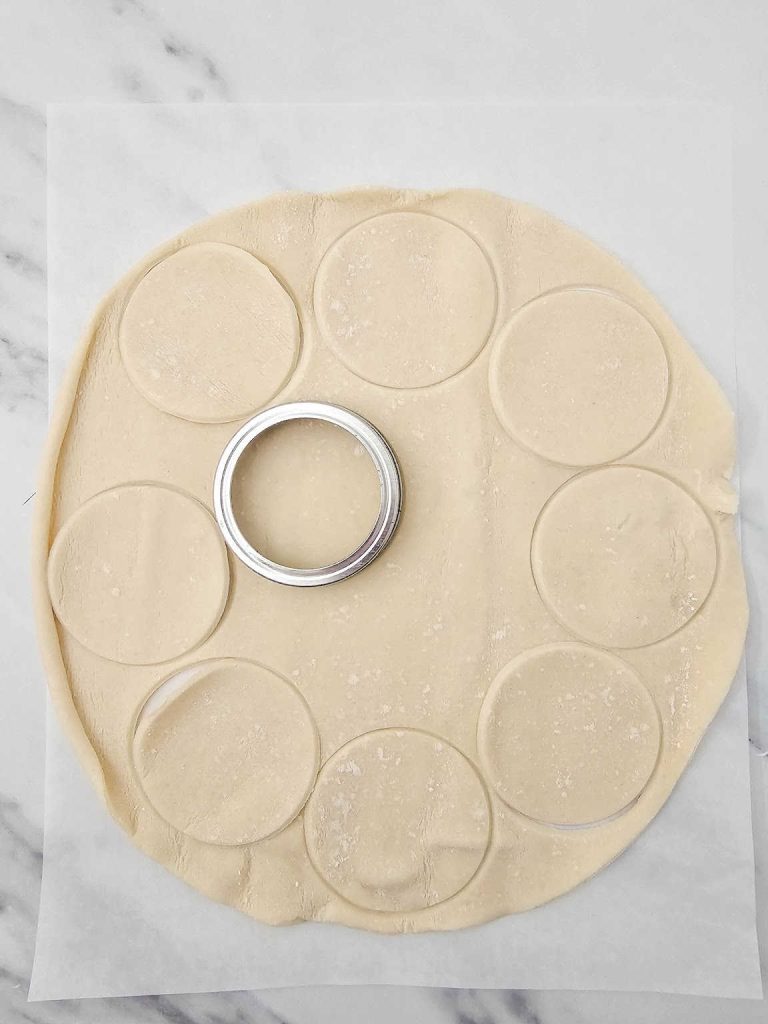
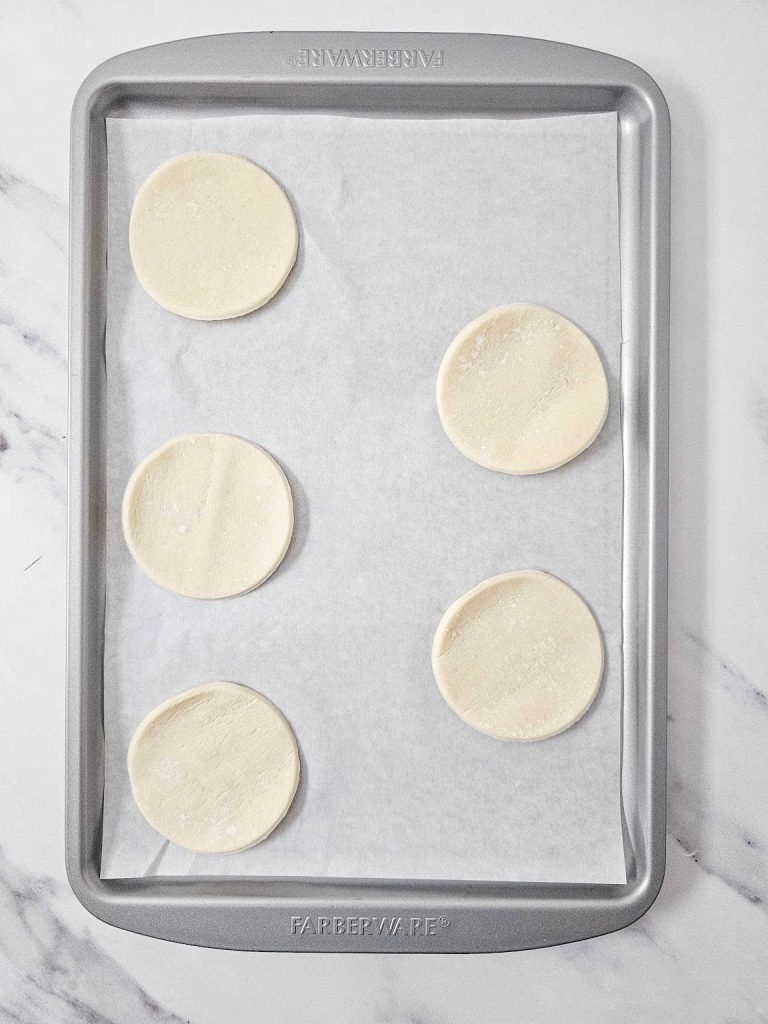
2. Roll out the pie crusts on a clean surface. Use the rim of a mason jar lid or round cookie cutter to cut out circles. You’ll get about 9 circles from the two crusts, but if you gather and re-roll the scraps, you can make up to 12.
3. Place half of the pie crust circles onto your prepared baking sheet, spaced slightly apart.
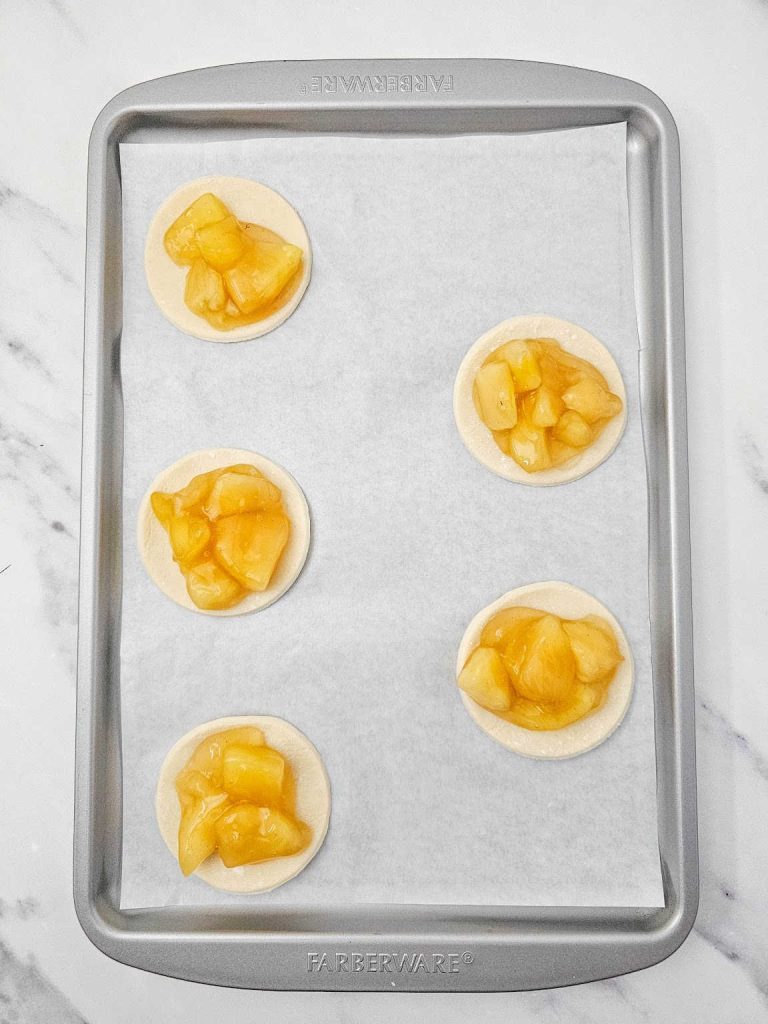
4. Spoon a small amount of the chopped apple pie filling into the center of each circle, just enough to cover the middle without overflowing.
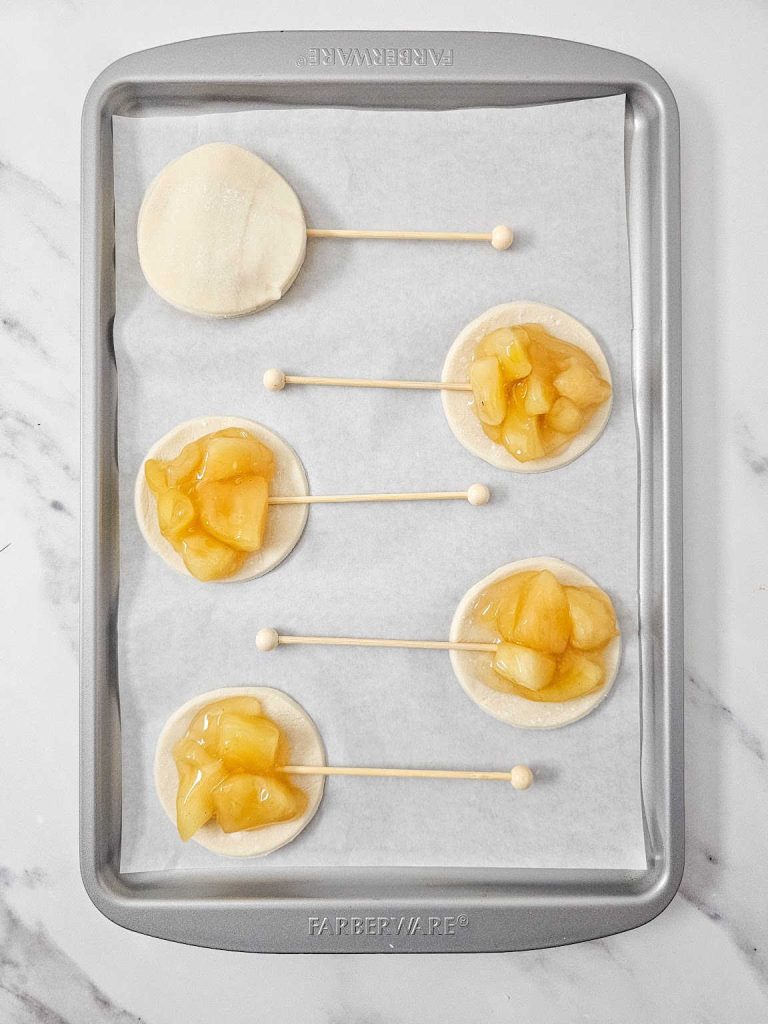
5. Gently press a party pick or popsicle stick into the filling, with one end sticking out like a lollipop handle. Then place a second pie crust circle on top of each filled base, lining it up with the bottom.
6. Use the tines of a fork to press around the edges, sealing the two crusts together and giving them that classic pie look.

7. Bake in the preheated oven for 20-22 minutes, or until the crust is golden brown and crisp.
8. While they cool slightly, whisk together the powdered sugar and milk to create a simple glaze. Drizzle it over the warm pie pops and let set before serving.
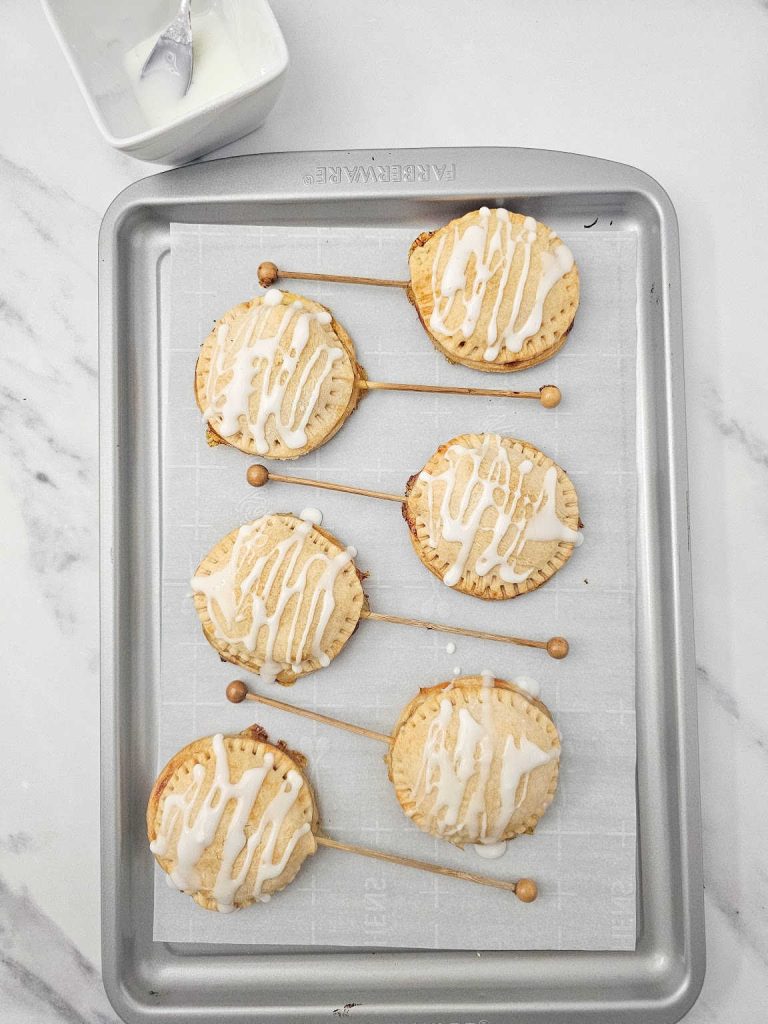
9. Serve and enjoy!

These apple pie pops are the kind of treat that makes people say, “Wait, how cute are these?!” And the best part? They taste just as good as they look. Whether you’re making them with your kids, bringing them to a gathering, or just baking up something cozy on a Sunday afternoon, they’re a sweet little reminder that dessert doesn’t have to be fancy to be fun (or delicious).

Apple Pie Pops
Ingredients
- 15 oz box of 2 pre-made pie crusts (refrigerator section)
- 1 cup apple pie filling, cut into small chunks
- 3 tbsp powdered sugar
- 1 tsp milk
Instructions
- Preheat your oven to 375°F and line a large baking sheet (or two smaller ones) with parchment paper for easy cleanup.
- Roll out the pie crusts on a clean surface. Use the rim of a mason jar lid or round cookie cutter to cut out circles. You’ll get about 9 circles from the two crusts, but if you gather and re-roll the scraps, you can make up to 12.
- Place half of the pie crust circles onto your prepared baking sheet, spaced slightly apart.
- Spoon a small amount of the chopped apple pie filling into the center of each circle, just enough to cover the middle without overflowing.
- Gently press a party pick or popsicle stick into the filling, with one end sticking out like a lollipop handle. Then place a second pie crust circle on top of each filled base, lining it up with the bottom.
- Use the tines of a fork to press around the edges, sealing the two crusts together and giving them that classic pie look.
- Bake in the preheated oven for 20-22 minutes, or until the crust is golden brown and crisp.
- While they cool slightly, whisk together the powdered sugar and milk to create a simple glaze. Drizzle it over the warm pie pops and let set before serving.
- Serve and enjoy!