No-Bake Chocolate Coconut Nests – Adorable Easter Treats!


Every year around Easter, I love making little treats that feel festive but don’t take a ton of time. These chocolate coconut nests check all the boxes—simple, fun, and a great way to bring a little extra color to the table.
The mix of sweet coconut and white chocolate gives them just the right amount of chew, and those candy eggs nestled in the center make them almost too cute to eat. They’re perfect for kids to help with, and they disappear fast once they’re set out.

I love how simple they are—just a few ingredients, no baking, and a little hands-on time to shape the nests.
These no-bake treats are a fun and festive way to celebrate Easter, and they come together with minimal effort. Just mix, shape, chill, and enjoy!
How to Make Chocolate Coconut Nests
Here are the ingredients you need to make these chocolate coconut Easter nests, plus step by step instructions for how to make them.
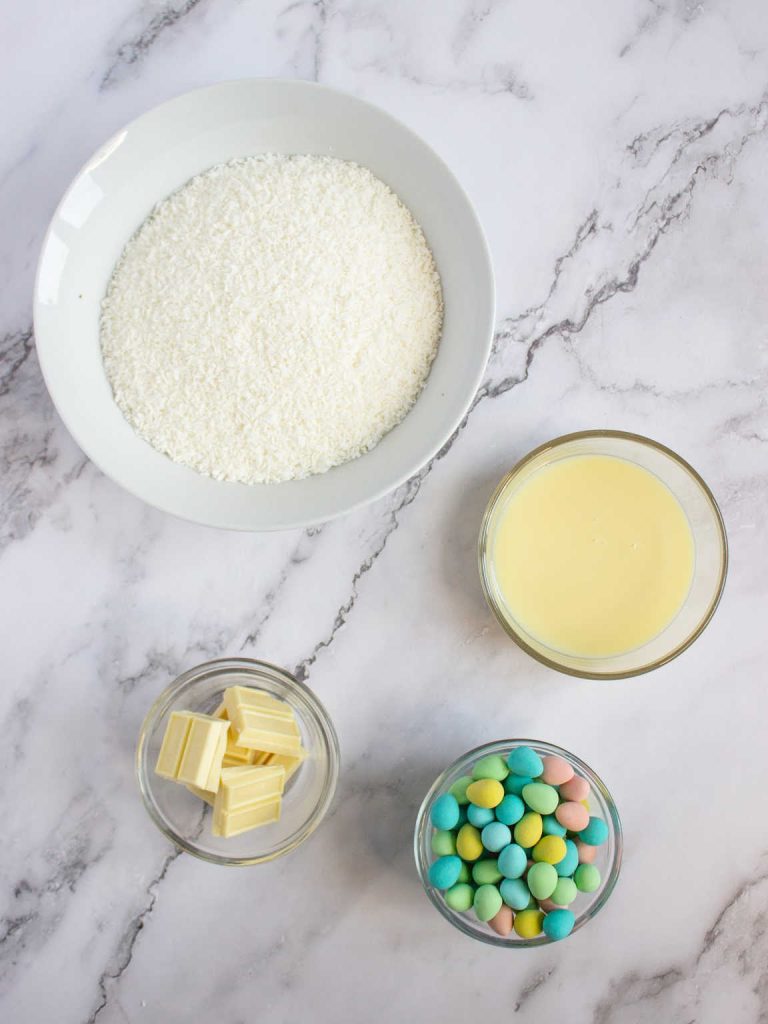
Ingredients
- 4 cups shredded coconut, divided
- 3/4 cup sweetened condensed milk
- 3 ounces white chocolate, melted
- Mini chocolate eggs (such as Cadbury Mini Eggs)
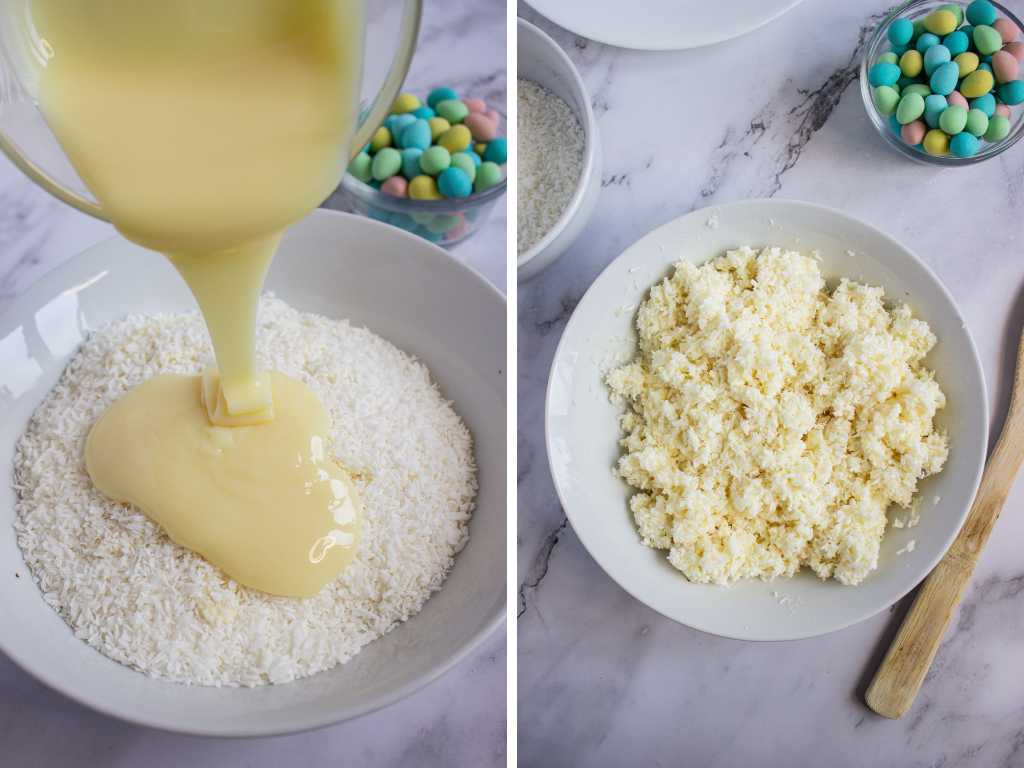
Step by Step Instructions
1. In a large mixing bowl, combine 3 cups of shredded coconut, sweetened condensed milk, and melted white chocolate. Stir the mixture thoroughly using a spatula or wooden spoon, making sure every strand of coconut is evenly coated. The mixture should be thick, sticky, and hold together when pressed. If it feels too dry, add a small drizzle of condensed milk; if too wet, sprinkle in a little more shredded coconut.
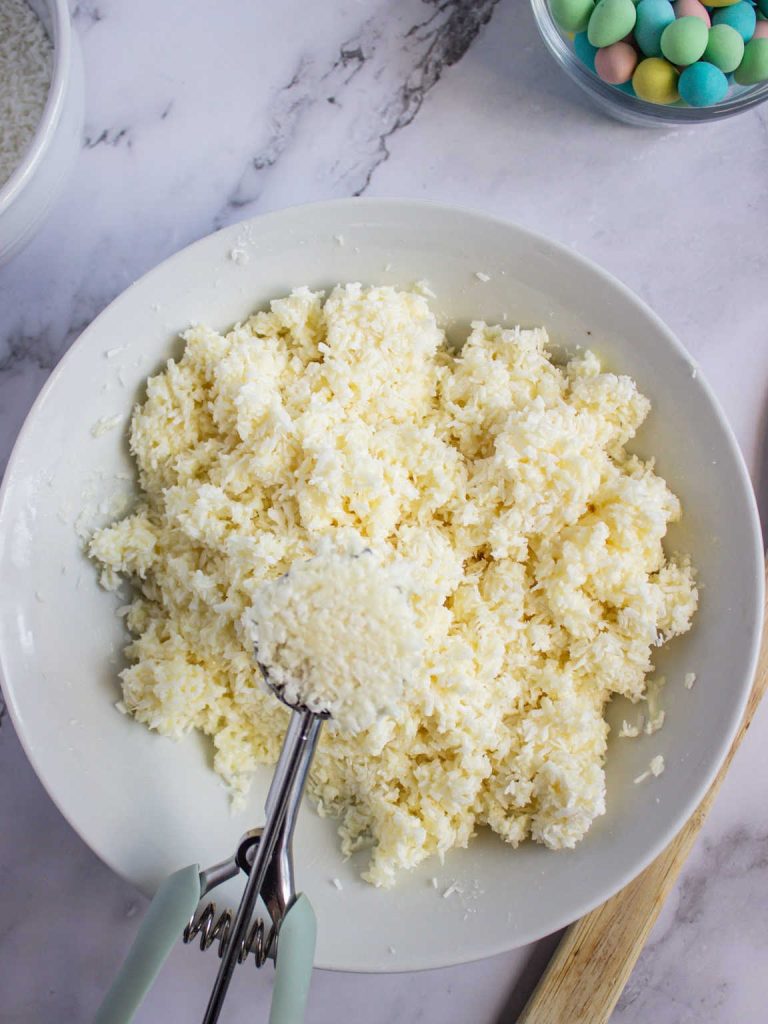
2. Set aside the remaining 1 cup of shredded coconut in a shallow bowl for later. Using a cookie scoop or a tablespoon, scoop about 1 to 1.5 tablespoons of the coconut mixture into your hands. Gently roll it between your palms to form a smooth, compact ball. If the mixture sticks to your hands, lightly dampen them with water or coat them with a touch of coconut oil to make rolling easier.
3. Roll each coconut ball in the reserved shredded coconut, pressing lightly to help it adhere. This extra coating not only enhances the texture but also gives the nests a more natural, rustic appearance.

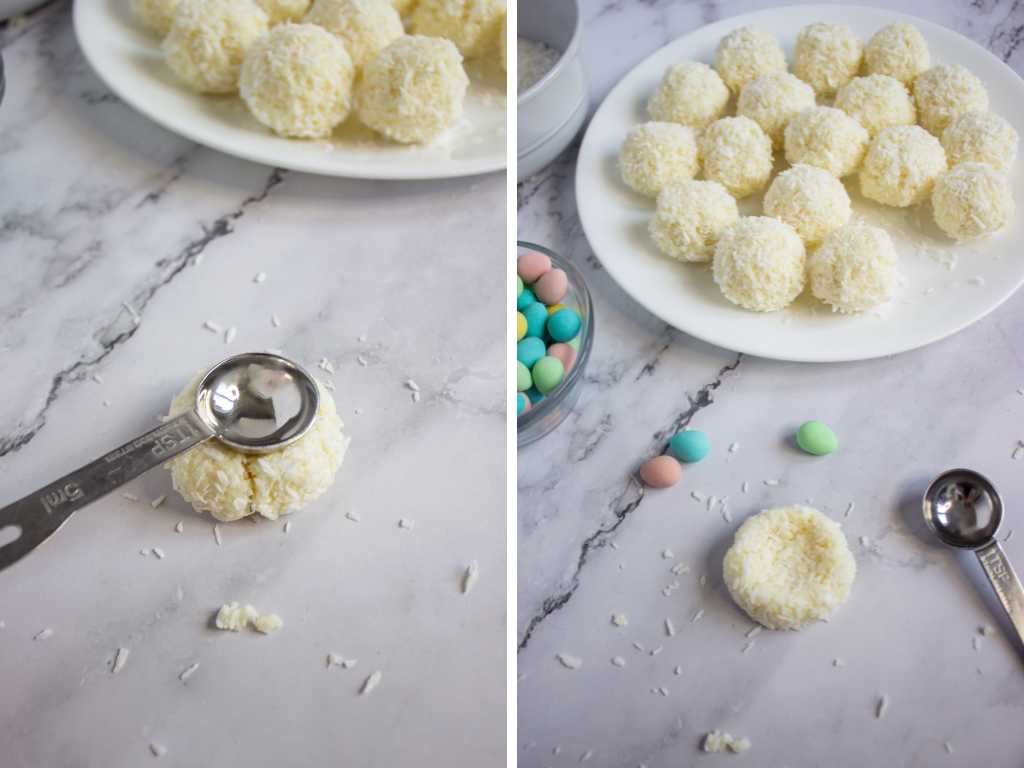
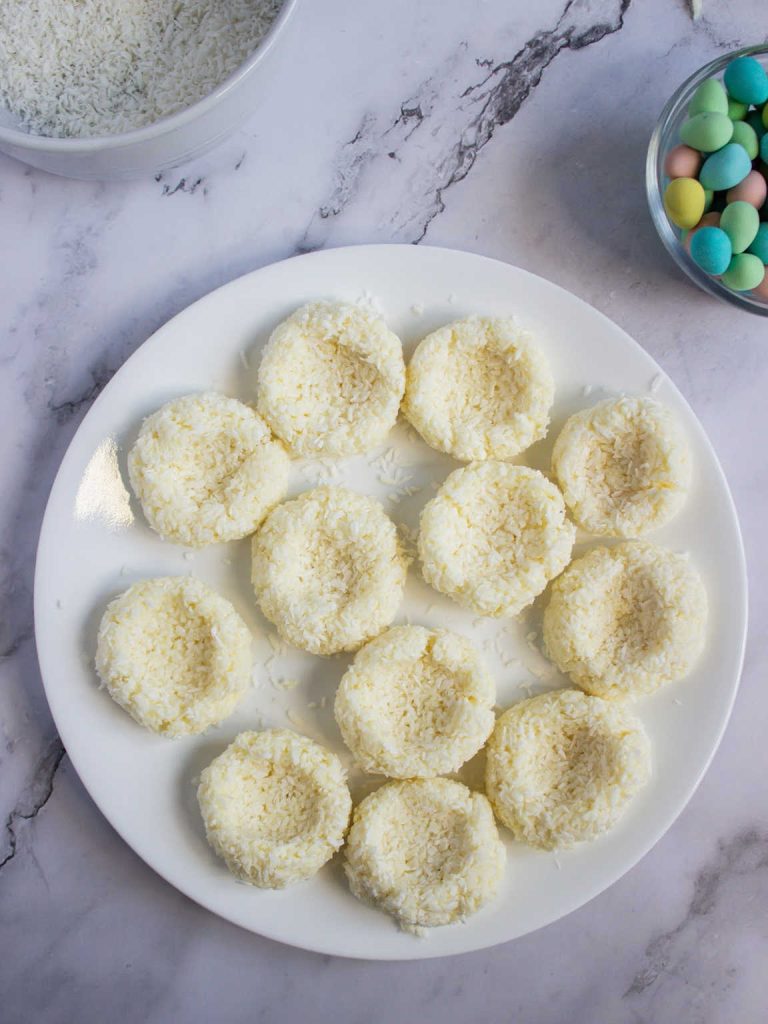
4. Using the back of a teaspoon, your thumb, or the rounded end of a measuring spoon, gently press an indentation into the center of each ball to create a nest-like shape. Be careful not to press too hard—you want a defined space for the eggs without flattening the nest too much. Arrange each formed nest on a parchment-lined baking sheet or tray, spacing them slightly apart.
5. Transfer the tray of coconut nests to the refrigerator for at least 15 minutes. This helps them firm up, making them easier to handle and ensuring they hold their shape when the chocolate eggs are added. If you have extra time, chilling them for 30 minutes will give them an even better texture.
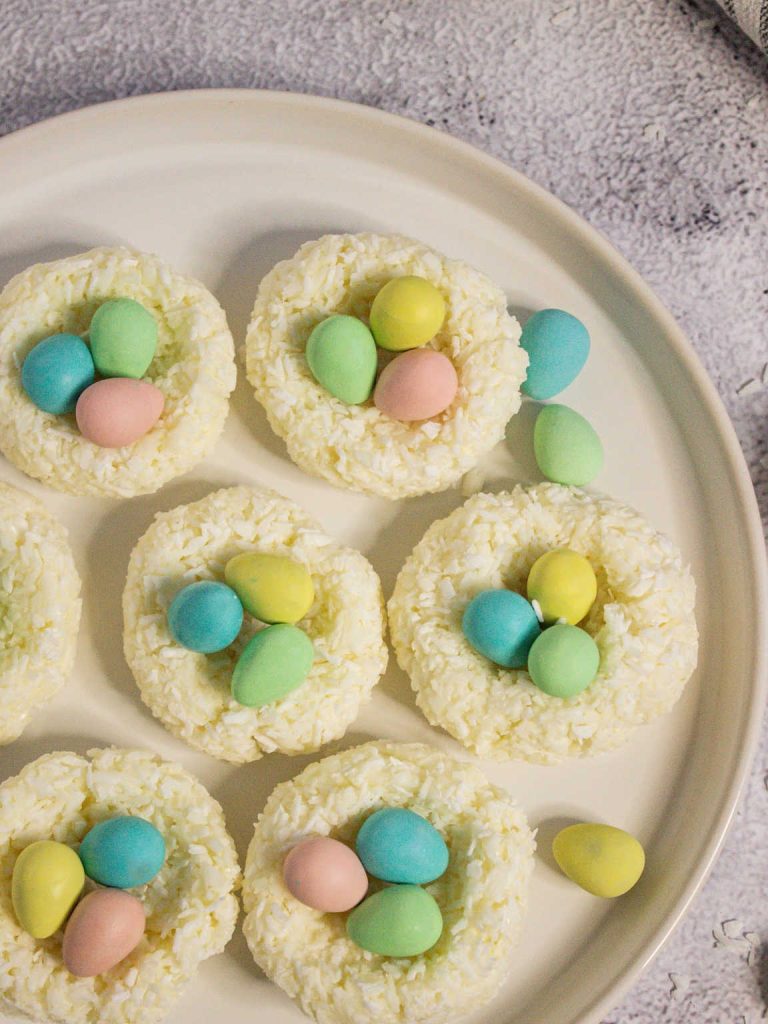
6. Once the nests have firmed up, take them out of the refrigerator. Place three mini chocolate eggs in the center indentation of each nest, gently pressing them into place so they stay secure. If the eggs aren’t sticking, you can dab a tiny bit of melted white chocolate in the center as “glue.”
7. Your Easter chocolate coconut nests are ready to enjoy! Serve them right away, or store them in an airtight container in the refrigerator for up to 3 days. If stacking, place a sheet of parchment paper between layers to prevent sticking.
These Easter chocolate coconut nests are the kind of treat that looks like you spent way more time on them than you actually did. They’re sweet, a little crunchy, and just the right size for snacking. Whether you’re making them for a party, gifting a batch, or just adding a fun dessert to your Easter spread, they’re a great way to bring a little holiday charm to the table.
More Easter Recipes

Chocolate Coconut Easter Nests
Ingredients
- 4 cups shredded coconut divided
- 3/4 cup sweetened condensed milk
- 3 ounces white chocolate melted
- Mini chocolate eggs such as Cadbury Mini Eggs
Instructions
- In a large mixing bowl, combine 3 cups of shredded coconut, sweetened condensed milk, and melted white chocolate. Stir the mixture thoroughly using a spatula or wooden spoon, making sure every strand of coconut is evenly coated. The mixture should be thick, sticky, and hold together when pressed. If it feels too dry, add a small drizzle of condensed milk; if too wet, sprinkle in a little more shredded coconut.
- Set aside the remaining 1 cup of shredded coconut in a shallow bowl for later. Using a cookie scoop or a tablespoon, scoop about 1 to 1.5 tablespoons of the coconut mixture into your hands. Gently roll it between your palms to form a smooth, compact ball. If the mixture sticks to your hands, lightly dampen them with water or coat them with a touch of coconut oil to make rolling easier.
- Roll each coconut ball in the reserved shredded coconut, pressing lightly to help it adhere. This extra coating not only enhances the texture but also gives the nests a more natural, rustic appearance.
- Using the back of a teaspoon, your thumb, or the rounded end of a measuring spoon, gently press an indentation into the center of each ball to create a nest-like shape. Be careful not to press too hard—you want a defined space for the eggs without flattening the nest too much. Arrange each formed nest on a parchment-lined baking sheet or tray, spacing them slightly apart.
- Transfer the tray of coconut nests to the refrigerator for at least 15 minutes. This helps them firm up, making them easier to handle and ensuring they hold their shape when the chocolate eggs are added. If you have extra time, chilling them for 30 minutes will give them an even better texture.
- Once the nests have firmed up, take them out of the refrigerator. Place three mini chocolate eggs in the center indentation of each nest, gently pressing them into place so they stay secure. If the eggs aren’t sticking, you can dab a tiny bit of melted white chocolate in the center as “glue.”
- Your Easter chocolate coconut nests are ready to enjoy! Serve them right away, or store them in an airtight container in the refrigerator for up to 3 days. If stacking, place a sheet of parchment paper between layers to prevent sticking.